Category Archives: recipes

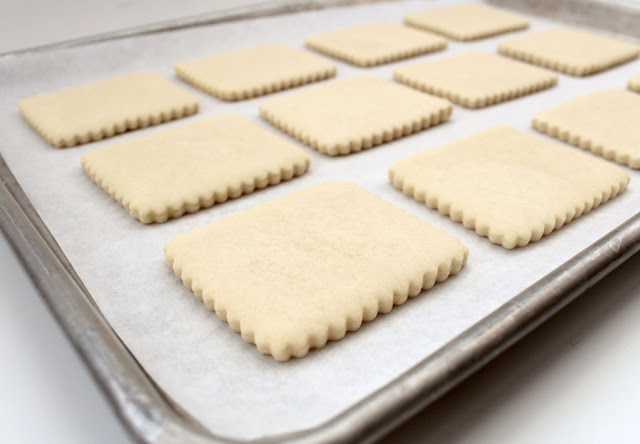
Basic Sugar Cookie Recipe

SheetIngredients

  • 1 c. {two sticks} of REAL unsalted BUTTER, softened
  • 1 1/2 c. confectioner’s sugar
  • 1 egg
  • 2-3 tsp flavoring {pick what you like, I prefer almond}
  • 2 1/2-2 3/4 c. all-purpose flour
  • 2 tsp. baking powder
  • 1 tsp. salt

Instructions

  1. Cream together softened butter and confectioner’s sugar. Crack the egg into a separate bowl, and add the flavoring. I use emulsions, but extract also works well. Add that to the butter sugar mixture and mix until the egg is thoroughly incorporated. In a separate bowl, sift together the flour, baking powder, and salt, then add little by little to the mixture. I can tell the dough is ready when most of it sticks to the paddle. When I touch it, it has a little give, but does not stick to my fingers.074
  2. Roll out on parchment to about 1/4 an inch thick, use flour for dusting as necessary. Then, cut and bake at 400 degrees for 7-8 minutes. This version makes 2-2 1/2 dozen, doubled, it makes 4-5 dozen.074 

Notes

  • The dough DOES not need to be refrigerated. That’s why I like it. 
  • The dough needs to rest a little after mixing, it will firm up a little bit after a minute or two 
  • The recipe doubles well 
  • Baking times are approximate. You must KNOW your oven. Watch them the first few times you bake them. Get a thermometer, and do not over bake. If the cookies are browning you have gone too far. 
  • This dough can be flavored any way you like. 
  • The cookies freeze well.
  • There is a lot of leavener in these cookies. This is not a typo. The general rule is less leavener so they don’t spead, but I’ve never been one to follow the rules. 
  • This recipe does spread a little. If you don’t like that add a little flour. Speaking of flour, start with 2 1/2 cups. Add another 1/4 of a cup if the dough seems to sticky. 
  • If you don’t like salt, leave it out altogether. If you only have salted butter, use that and reduce the salt. 
  • I prefer decorating day-old cookies. They are less likely to leach oil back into your icing if they have had a day or two to “dry out”. They are still soft, however.
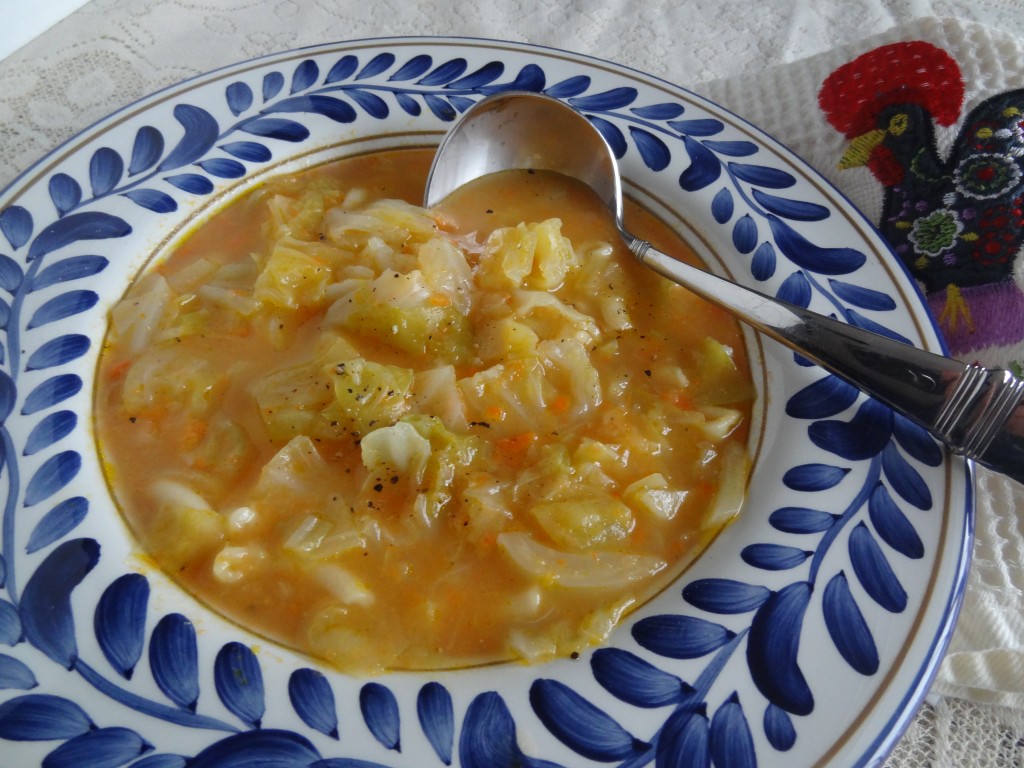
Sopa de Grao – Chick Pea Vegetable Puree with Cabbage

DSC03435-1024x768

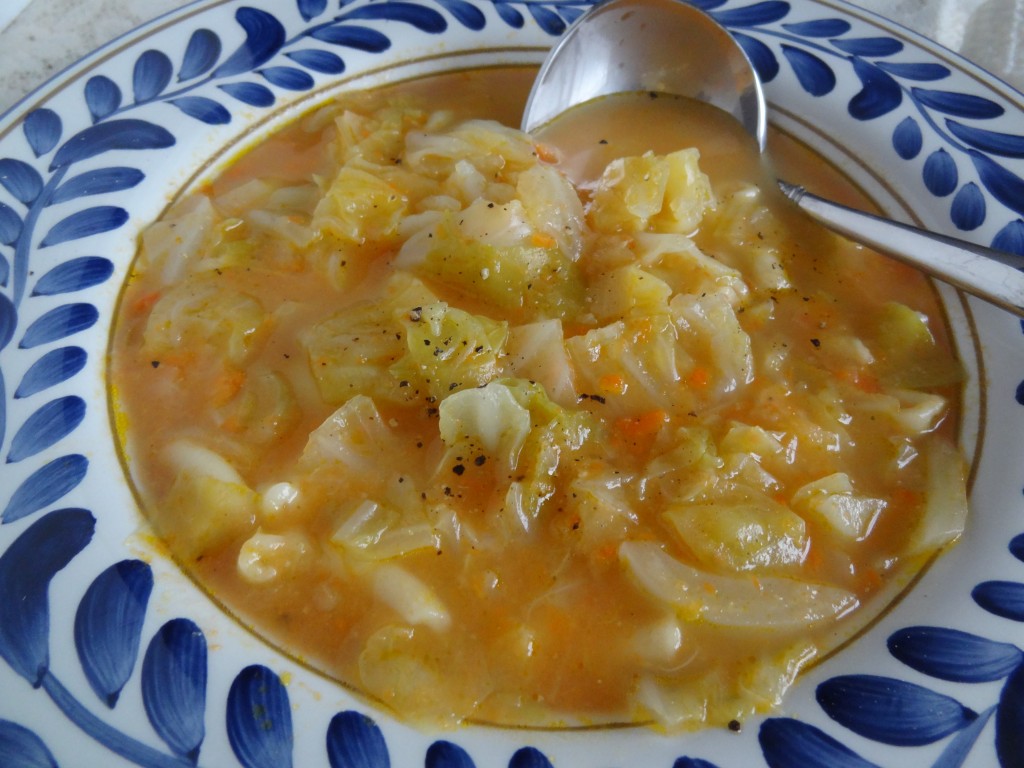
This Sopa de Grao, is loaded with fiber, protein and slow digesting carbs that are good for you. It’s made with simple ingredients that you probably have in your pantry.

You may substitute the cabbage with any leafy green cabbage such as collard greens, kale, spinach etc. Serve with crusty bread and enjoy!

Ingredients

  • 4 large carrots (cut into chunks)
  • 1 large potato (cubed)
  • 1 large onion (chopped)
  • 2 cloves of garlic (chopped)
  • 1 stalk of celery (cut into pieces)
  • 1 bay leaf
  • 1/4 cup  of olive oil
  • 1 large can or 2 cups of cooked chick peas
  • 2 teaspoons salt
  • 1/2 teaspoon pepper
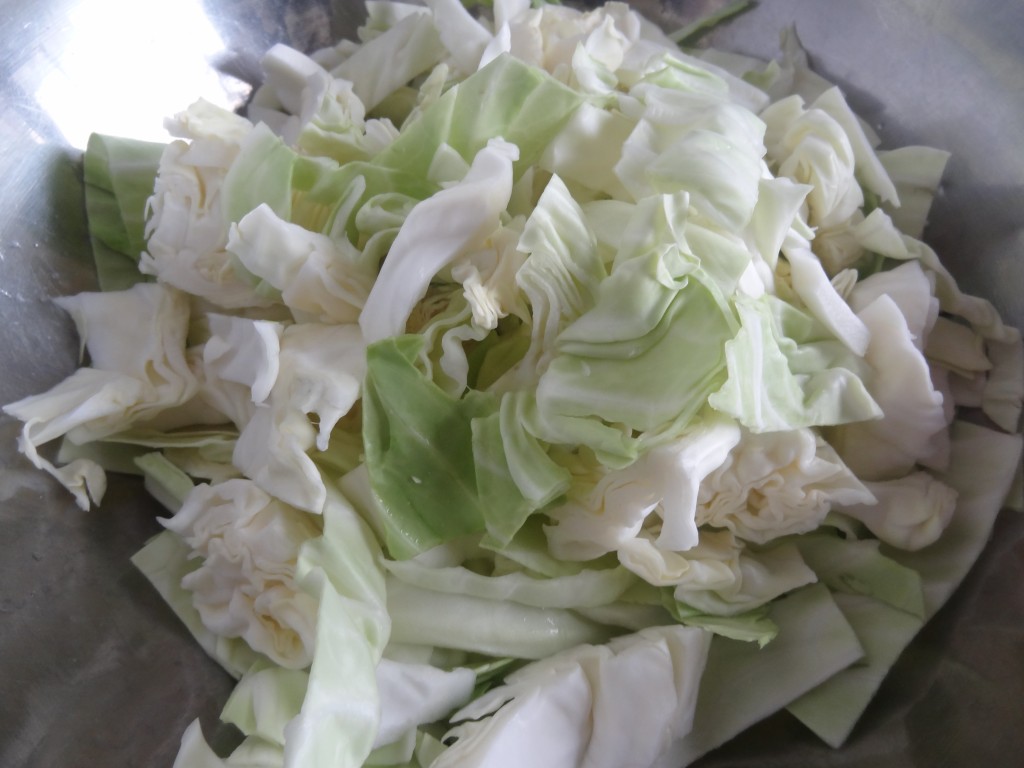
  • 1/2 of a head of cabbage (about 4 cups) cut into 1 inch strips
  • 1 and 1/2 cups of elbow macaroni
  • 5 cups of water 
  • 5 cups of vegetable or chicken broth

Instructions

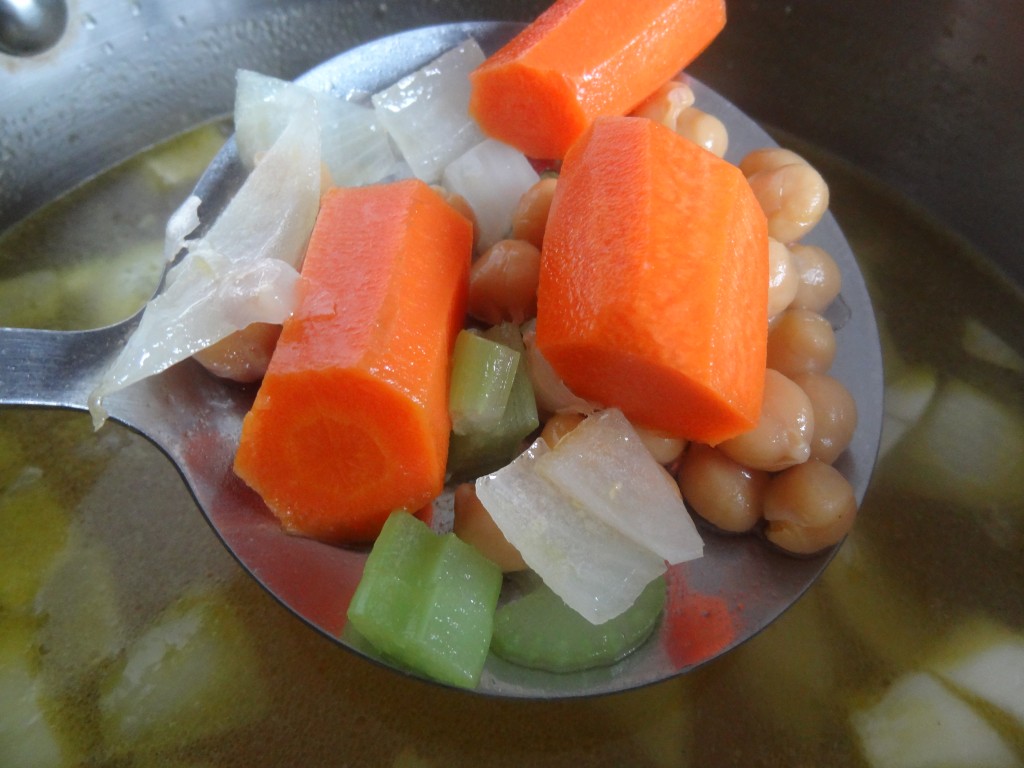
Saute the onions, garlic, carrots and celery in the olive oil in a large soup pan for about 5 minutes.

Add the salt, pepper, chick peas, potato and liquid, and bring to a boil. Cover and cook for about 15 minutes on medium heat.

DSC03427-1024x768

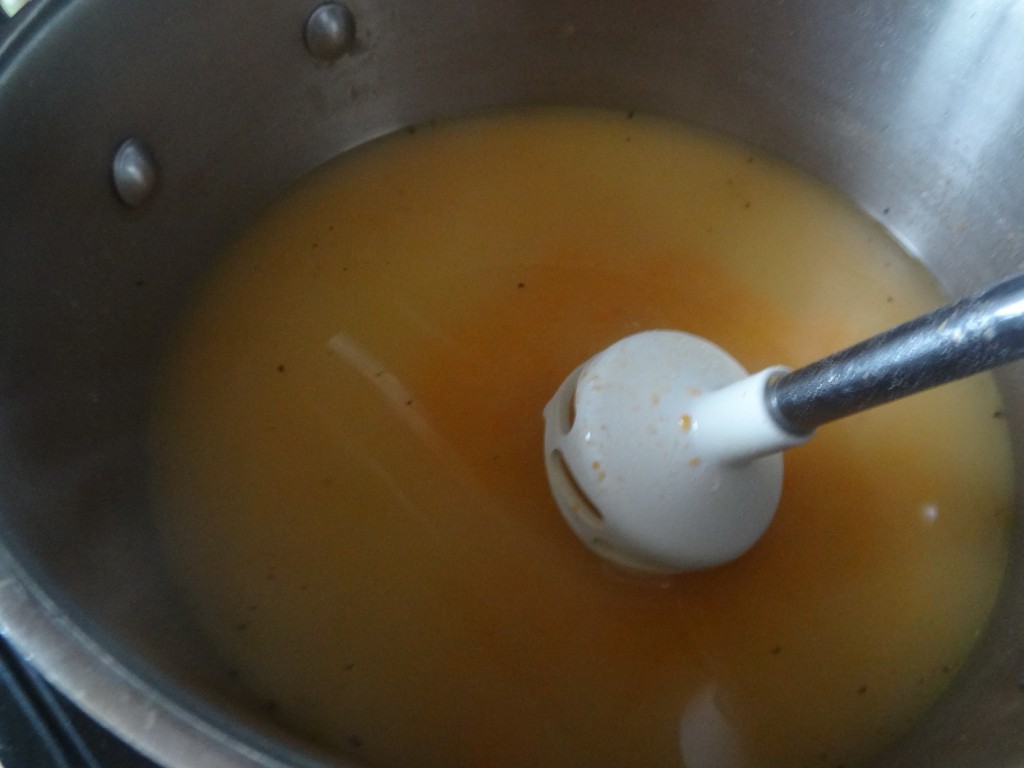
When the vegetables are tender, remove the bay leaf and puree them with an immersion blender to desired consistency. I leave the vegetables a little chunky, but you can puree them very fine.

DSC03430-1024x768

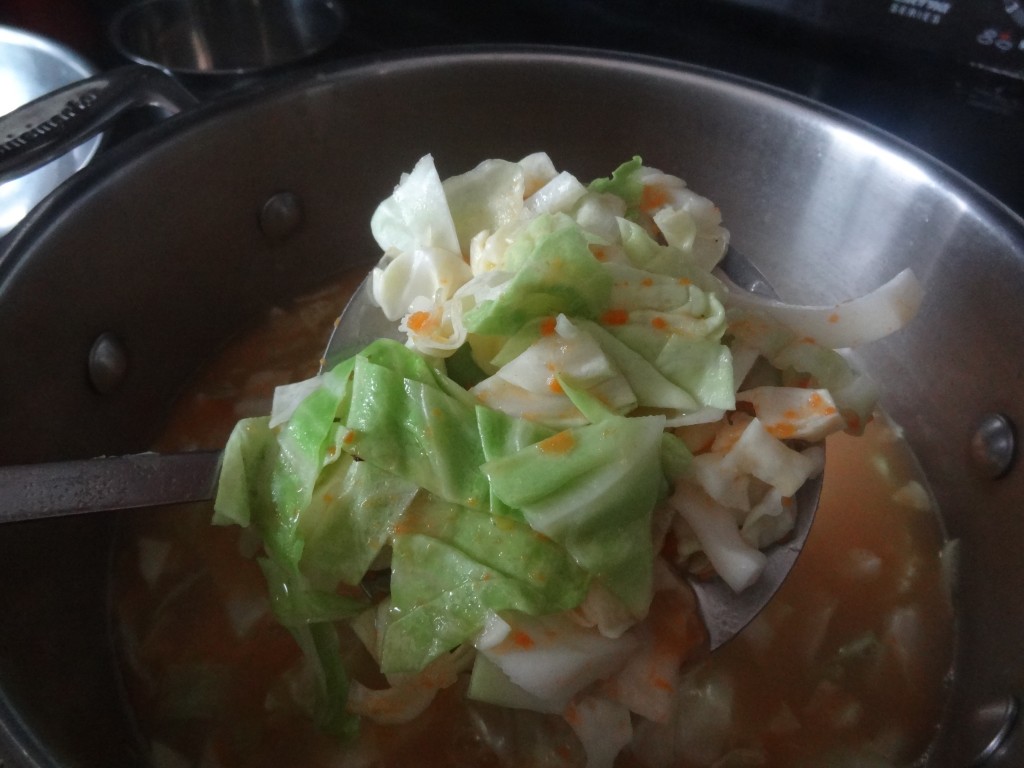
Put the pan back on the heat and bring the soup to a boil. Add the macaroni and the cabbage, cover and cook for another 20 minutes on medium low heat.

DSC03429-1024x768

DSC03433-1024x768

Taste and add more salt, pepper and olive oil before serving if needed. Serve and enjoy!

DSC03436-1024x768

http://portuguesediner.com/tiamaria/sopa-de-grao-chick-pea-vegetable-puree-cabbage/


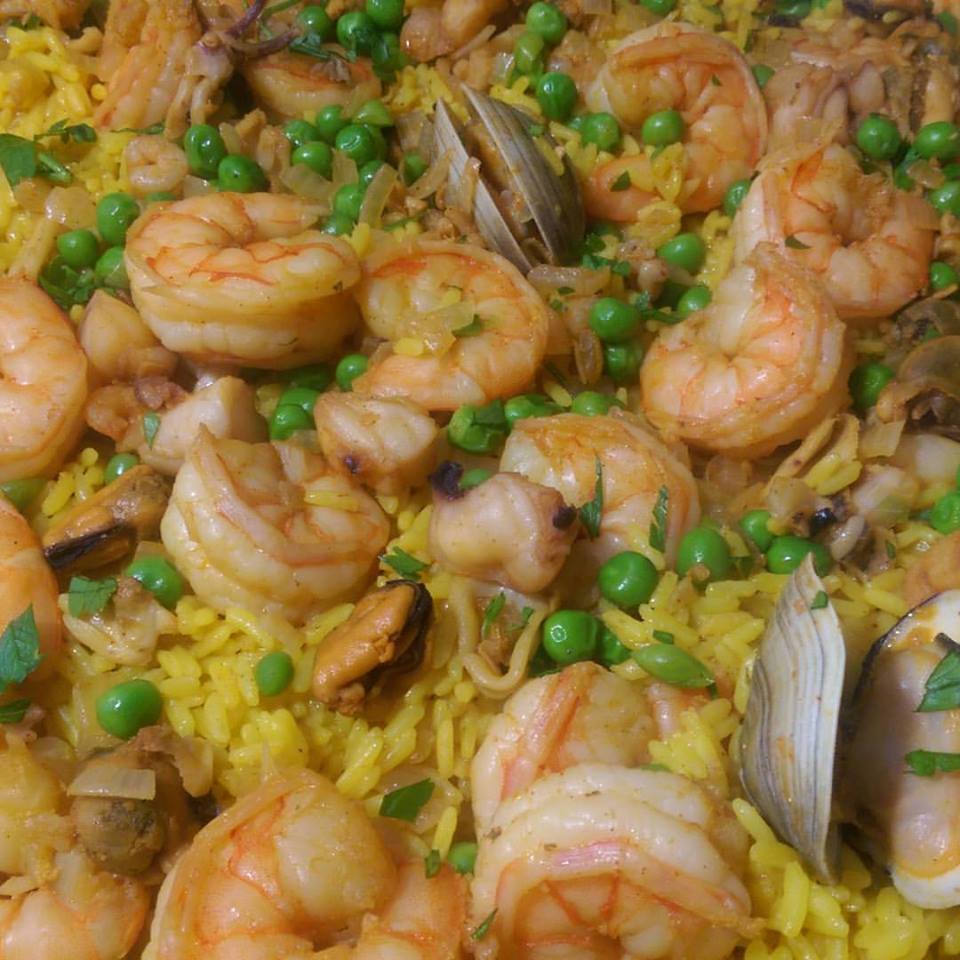
Maria’s Seafood Rice

Seafood-rice

I make this Seafood Rice dish for every family celebration since we are all seafood lovers! The recipe is very versatile so you can change up the seafood ingredients to what ever you prefer. Sometimes I also add lobster when it’s in season.

I like to cook the rice separate from the seafood because the rice comes out fluffier. Some people cook the rice in with the seafood but that may leave the seafood dry too. You can also use only regular long rice if you prefer,  but increase it to 3 and 1/2 cups.

Serves 10-12

Ingredients

Rice

  • 2 cups long grain rice
  • 1 (8 oz) package of Goya Yellow Rice mix
  • 1 medium onion (finely chopped)
  • 2 tablespoons of olive oil
  • 1 teaspoon of paprika
  • 1 chicken bouillon cube
  • 6 cups of boiling water
  • 1 teaspoon salt

Seafood ingredients

  • 2 pounds of uncooked peeled shrimp
  • 1 pound of little neck clams  (washed)
  • 1 pound of mussels in or out of shell
  • 1 pound of squid (chopped into rings and pieces)
  • 1 pound of scallops
  • 1 small onion (finely chopped)
  • 2 cloves garlic (finely minced)
  • 2 tablespoons of olive oil
  • 2 tablespoons butter
  • 1 teaspoon paprika
  • 1 teaspoon salt
  • 1 cup of vinho verde or dry white wine
  • 1 cup chicken stock
  • Dash of Piri Piri or hot sauce
  • 2 cups frozen baby peas
  • 2 tablespoons of chopped parsley or cilantro for garnish
  • Lemon wedges for garnish

Instructions

  1. Make the rice first by sauteing the onion in a heavy medium pan with the olive oil for a few minutes until translucent but not browned. Add the long grain rice to the onion and stir to coat with the olive oil. Let brown for 1 minute stirring often.
  2. Add the boiling water, salt, paprika and bouillon cube. Let come to a boil and add the Yellow rice. Stir, cover and reduce heat to medium. Let cook for about 15 – 20 minutes stirring once in a while. Add more boiling water if you find the rice is getting to dry. Taste and add more salt if desired.
  3. In a medium skillet, saute the onion and garlic in the olive oil until translucent. Add the clams, squid, and mussels and cook for one minute. Add the wine, butter, paprika, piri piri, salt, stock and shrimp.
  4. Cook for about 5 minutes on high until the seafood is cooked and clams open. Taste and add more seasoning if desired. Add the peas and cook for 1 minute. Set seafood aside until rice is fully cooked.
  5. Place the rice into a wide paella pan or oven proof serving tray. Pour the seafood over the rice spreading the seafood evenly. Place in the oven at 350  degrees f for a few minutes for the flavors to incorporate. Keep in the warm oven until ready to serve but not too long or the rice will become dry.
  6. Garnish with lemon wedges and cilantro or parsley. Serve and enjoy!

http://portuguesediner.com/tiamaria/seafood-rice-arroz-marisco/

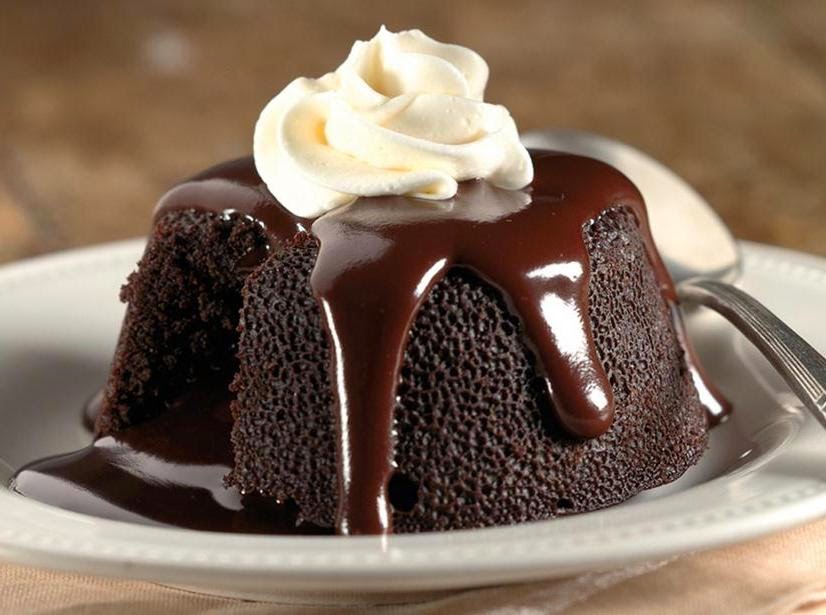
Molten Chocolate Lava Cake

chocolate-lava-cake-recipe_1407887677 (1)

Ingredients

Lava Centre:

  • 120g bittersweet cooking chocolate, chopped 
  • 90ml whipping cream 
  • 1 tsp vanilla essence 
  • 2 tsp butter 

Chocolate Cake Mix 

  • 380g cake flour 
  • 80g cocoa powder 
  • 1 tsp baking soda 
  • 1/2 tsp salt 
  • 125ml vegetable oil 
  • 250ml cold water 
  • 2 tsp vinegar

Instructions

for the lava centre

  1. Melt chocolate with the rest of the ingredients over a double boiler until mixture is smooth 
  2. Place mixture into refrigerator to cool 
  3. Every few minutes whisk the mixture until a frosting like consistency is reached 
  4. Fill a pastry bag with the chocolate mixture and pipe out ‘cherry’ sized portions 
  5. Place these into the freezer until ready to use for the chocolate cake mix

for the cake

  1. Preheat oven to 180 degrees C (350 degrees F) and grease small ramekins or custard cups with butter and dust with a little flour 
  2. To make the cake, sift all dry ingredients into a mixing bowl 
  3. Mix oil and water together and whisk into the sifted ingredients until batter is smooth 
  4. Stir in the vinegar rapidly 
  5. Fill half the prepared cups with batter and put in a lava centre each 
  6. Fill with the rest of the batter until 3/4 full and bake for 20 to 25 minutes 
  7. Remove from oven and serve immediately with your favourite ice cream

Contest-Winning Moist Chocolate Cake Recipe

exps15028_PR15D03_04_4b

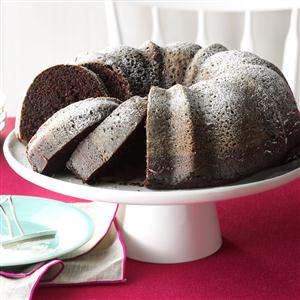
This proves you don’t have to spend a lot to serve an elegant and delicious dessert. We have friends who are very picky eaters, and this is their absolute favorite chocolate cake. You can quickly mix up the batter in one bowl, bake your cake and serve a crowd for just 14¢ a slice. —Christa Hageman Telford, Pennsylvania

Prep – 15 min | Bake – 45 min + cooling

Ingredients

  • 2 cups sugar
  • 1-3/4 cup all-purpose flour
  • 3/4 cup baking cocoa
  • 2 teaspoons baking soda
  • 1 teaspoon baking powder
  • 1 teaspoon salt
  • 2 eggs
  • 1 cup strong brewed coffee
  • 1 cup buttermilk
  • 1/2 cup canola oil
  • 1 teaspoon vanilla extract
  • 1 tablespoon confectioners’ sugar

Instructions

  1. In a large bowl, combine the first six ingredients. Add the eggs, coffee, buttermilk, oil and vanilla; beat on medium speed for 2 minutes (batter will be thin). Pour into a greased and floured 10-in. fluted tube pan.
  2. Bake at 350° for 45-50 minutes or until a toothpick inserted near the center comes out clean. Cool for 10 minutes before removing from pan to a wire rack to cool completely. Dust with confectioners’ sugar.

Filhoses Fritas


1505196_552633261506355_2500401604665689679_n

Ingredientes

  • 5 copos de farinha de trigo
  • 5 ovos
  • 5 colheres de sopa de açucar
  • 3 pacotes de fermento
  • 1 ½ copo de leite
  • ½ barra de manteiga
  • Raspa de 1 limão
  • 1 pitada de sal
  • canela

Modo de a fazer

  1. Amorna-se o leite com a manteiga. Desfaz-se o fermento em ½ copo de àgua morna com uma colher de sopa de açucar. 
  2. Mistura-se bem os ovos com o açucar e a raspa de limão primeiro. Bate-se a farinha, o leite e a manteiga e por ultimo o fermento. Bate-se bem batido como quem lava roupa. Deixa-se levedar até encher a pana. 
  3. Num tacho (ou uma sertã grande) aquece-se o oleo. Baixa-se a temperatura para médio, unta-se as mãos com oleo. Estica-se massa como se quer (eu prefiro fazer um buraco no meio), põe-se a fritar, vira-se e coloca-se num taboleiro com papel de cozinha. 
  4. Para quem gosta, passa-se numa mistura de açucar e canela.

Very rough English translation:

Ingredients

  • 5 cups of flour
  • 5 eggs
  • 5 tablespoons of sugar
  • 3 packets of yeast
  • 1 ½ glass of milk
  • ½ bar of butter
  • zest of 1 lemon
  • 1 pinch of salt

Instructions

  1. Amorna the milk with butter. The yeast dissolves in ½ cup warm tap water with a tablespoon of sugar.
  2. Mix well the eggs with the sugar and the zest of lemon first. Beat the flour, milk and butter and finally the yeast. Knead the dough as if you’re doing laundry. Allow to rise until it reaches the top of the bowl.
  3. Heat up the oil In a large frying pan. Lower the temperature to medium. Cover hands with condensed milk. Stretch massa  (I prefer to make a hole in the middle) and place in oil. Turn once and place on a tray with paper towels.
  4. For those who like, place in a mixture of sugar and cinnamon.

Lemon Velvet Cake

DSC0627-edit-1-of-1-2-

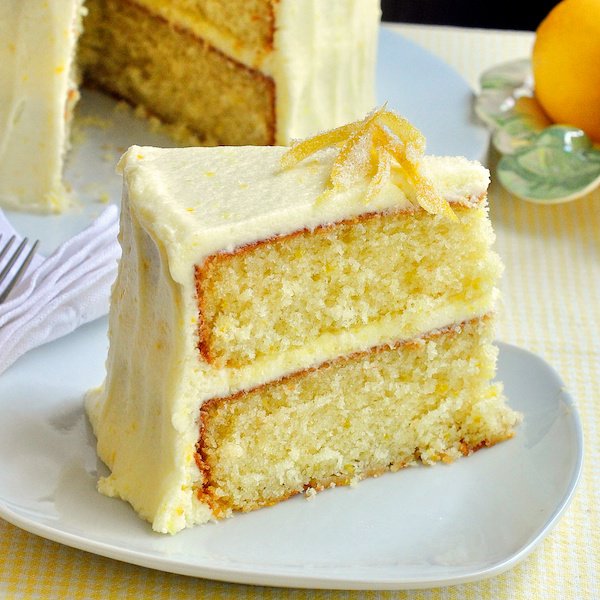
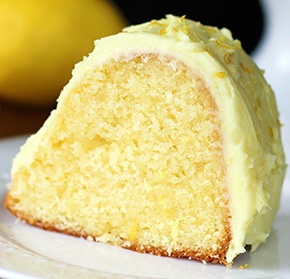
Before this Lemon Velvet Cake, it all started with me trying to develop the best Red Velvet Cake recipe I could.  It was such a success and I loved the moist, tender texture of that cake so much that I just had to try a White Velvet Cakeand then an Orange Velvet Cake. Those turned out to be a couple of the most popular cake recipes ever on Rock Recipes so I couldn’t stop there. Keeping the lemon lovers like me in mind, a luscious lemon version was inevitable. The creamy, tangy lemon buttercream frosting goes particularly well with this beautiful lemon cake too.

Am I done with Velvet Cake recipes yet? Maybe not, I have an idea that might work out for yet another version. Here’s a clue…think pink.
Developed from an outstanding Red Velvet Cake recipe, this lemon cake is a perfectly moist and tender crumbed cake with a lemony buttercream frosting. An ideal birthday cake for the lemon lover in your life.

Prep time – Cook time – 35 mins | Total time – 55 mins

Ingredients

  • 1¼ cups sifted all purpose flour
  • 1½ cups sifted cake flour
  • ½ teaspoon baking soda
  • 1½ tsp baking powder
  • 1 teaspoon salt
  • 1½ cups sugar
  • ⅔ cup vegetable oil
  • ⅓ cup vegetable shortening at room temperature
  • 1 tsp good quality vanilla extract
  • 2 tsp pure lemon extract
  • 3 large eggs
  • 1½ cups buttermilk
  • zest of two small or one large lemons, grated and finely chopped
FOR THE FROSTING
  • 8 cups icing sugar (powdered sugar)
  • 2 cups unsalted butter
  • 1 tsp pure lemon extract
  • 1 tsp minced lemon zest (optional)
  • aproximately 4 tbsp milk

Instructions

  1. Grease and flour 2 nine inch round cake pans and line the bottom with 2 circles of parchment paper. Sift together both flours, baking soda. baking powder, salt and sugar, Set aside.
  2. In the bowl of an electric mixer beat together the vegetable oil, shortening, vanilla and lemon extract. Beat well at high speed with whisk attachment until light and fluffy
  3. Beat the eggs in one at a time.
  4. Fold in the lemon zest.
  5. Fold in the dry ingredients alternately with the buttermilk.
  6. I always add dry ingredients in three divisions and liquid ingredients in 2 divisions. It is very important to begin and end the additions with the dry ingredients. Do not over mix the batter. As soon as it has no lumps in the batter, pour into the two prepared 9 inch cake pans.
  7. Bake at 325 degrees F for 30-35 minutes or until a wooden toothpick inserted in the center comes out clean. Allow the cake to cool in the pans for 10 minutes before turning out onto wire racks to cool completely.

FOR THE FROSTING:

  1. Mix together the icing sugar, lemon zest and butter until it becomes sort of crumbly.
  2. Add the lemon extract and a little of the milk.
  3. Beat until smooth and fluffy, adding only enough milk to bring the frosting to a creamy spreadable consistency.
  4. Fill and frost the cake. Garnish with candied lemon zest if desired.
  5. To make candied lemon zest, remove the zest with a sharp vegetable peeler in long strips, avoiding as much of the white pith as possible.
  6. Bring one cup of water and one cup of sugar to a slow boil.
  7. Add the pieces of lemon zest and boil for about 15 minutes. Drain the lemon zest on a wire rack.
  8. When cool, cut them in strips and roll in fine sugar.

Homemade Lemon Pudding Cake Recipe

sss

Ingredients

  • 1 package of jello lemon pie filling (small packet, equals 2 cups or 4 servings)
  • 1 1⁄2 cups of white granulated sugar
  • 3⁄4 cup unsalted butter, softened
  • 4 teaspoons baking powder
  • 1 3⁄4 cups all-purpose flour
  • 2 tbsp fresh lemon zest
  • 1 tsp vanilla extract
  • 1 1⁄4 cup whole milk
  • 3 tbsp cornstarch
  • ? cup canola oil
  • 1 teaspoon salt
  • 4 eggs

Instructions

  1. Preheat the oven to 325 degrees F. Grease and flour a standard Bundt pan.(the 12 cup capacity)
  2. In a medium bowl, whisk together the flour, cornstarch, baking powder and salt then set aside.
  3. Using an electric mixer on medium speed with a paddle attachment, cream together the butter and granulated sugar until light and fluffy, about 3 minutes.Add in the lemon pie filling mix and combine thoroughly.
  4. Beat in the eggs, one at a time, making sure each is thoroughly incorporated.
  5. Mix in the lemon zest.
  6. Combine the milk, oil and vanilla extract in a large measuring cup or bowl.
  7. Starting with the dry ingredients, alternate pouring a third of the wet and dry ingredients into the bowl, incorporating thoroughly after each addition. You will end on the wet ingredients. Mix on medium speed for 2 minutes after the last addition.
  8. Pour the cake batter into the prepared Bundt pan and bake for 50 to 60 minutes, or until a tester inserted into the center of the cake comes out clean.
  9. Invert the cake onto a baking rack to cool.
  10. Frost with Lemon Buttercream Icing when the cake has completely cooled and sprinkle lemon zest over the icing if wanted.

Portugese Spikes of Corn Cookies (Espigas De Milho)

picGN18Pk

About This Recipe – “This is my favorite portuguese cookie. I enjoy the tender crunch and corn flavour of the cookie, and it stays fresh for a long time.”

Ingredients 

  • 3 1/4 cups yellow corn flour
  • 3 cups all-purpose flour
  • 2 cups sugar
  • 3 large eggs, room temperature
  • 1 teaspoon cinnamon
  • 1/2 teaspoon nutmeg
  • 1 teaspoon salt
  • 2 teaspoons baking powder
  • 1/2 lb butter, room temperature
  • 1/2 lb lard, room temperature
  • 1 lemon rind
  • milk ( if necessary)

Directions

  1. Preheat oven to 350°F.
  2. Beat all of the ingredients together except for the two flours. When well beaten, add all of the flour and mix well until blended. Dough should be firm enough to hold its shape when pressed. (Adjust firmness by adding either milk or flour, a little at a time).
  3. Using a cookie press with a star tip, pipe a rope of dough onto an ungreased cookie sheet. Cut the rope into 5 to 6” lengths, and then shape into an S. (Alternatively, you can make simple drop cookies).
  4. Bake at 350º F until done, about 15 – 17 minutes and cookies have light colour. Once all of the cookies are baked, pile the cookies on one cookie sheet and return to a 200º F oven for 25 minutes to add crispiness.

Brown Sugar Casted Chocolates

IMG_3423aIMG_3429a

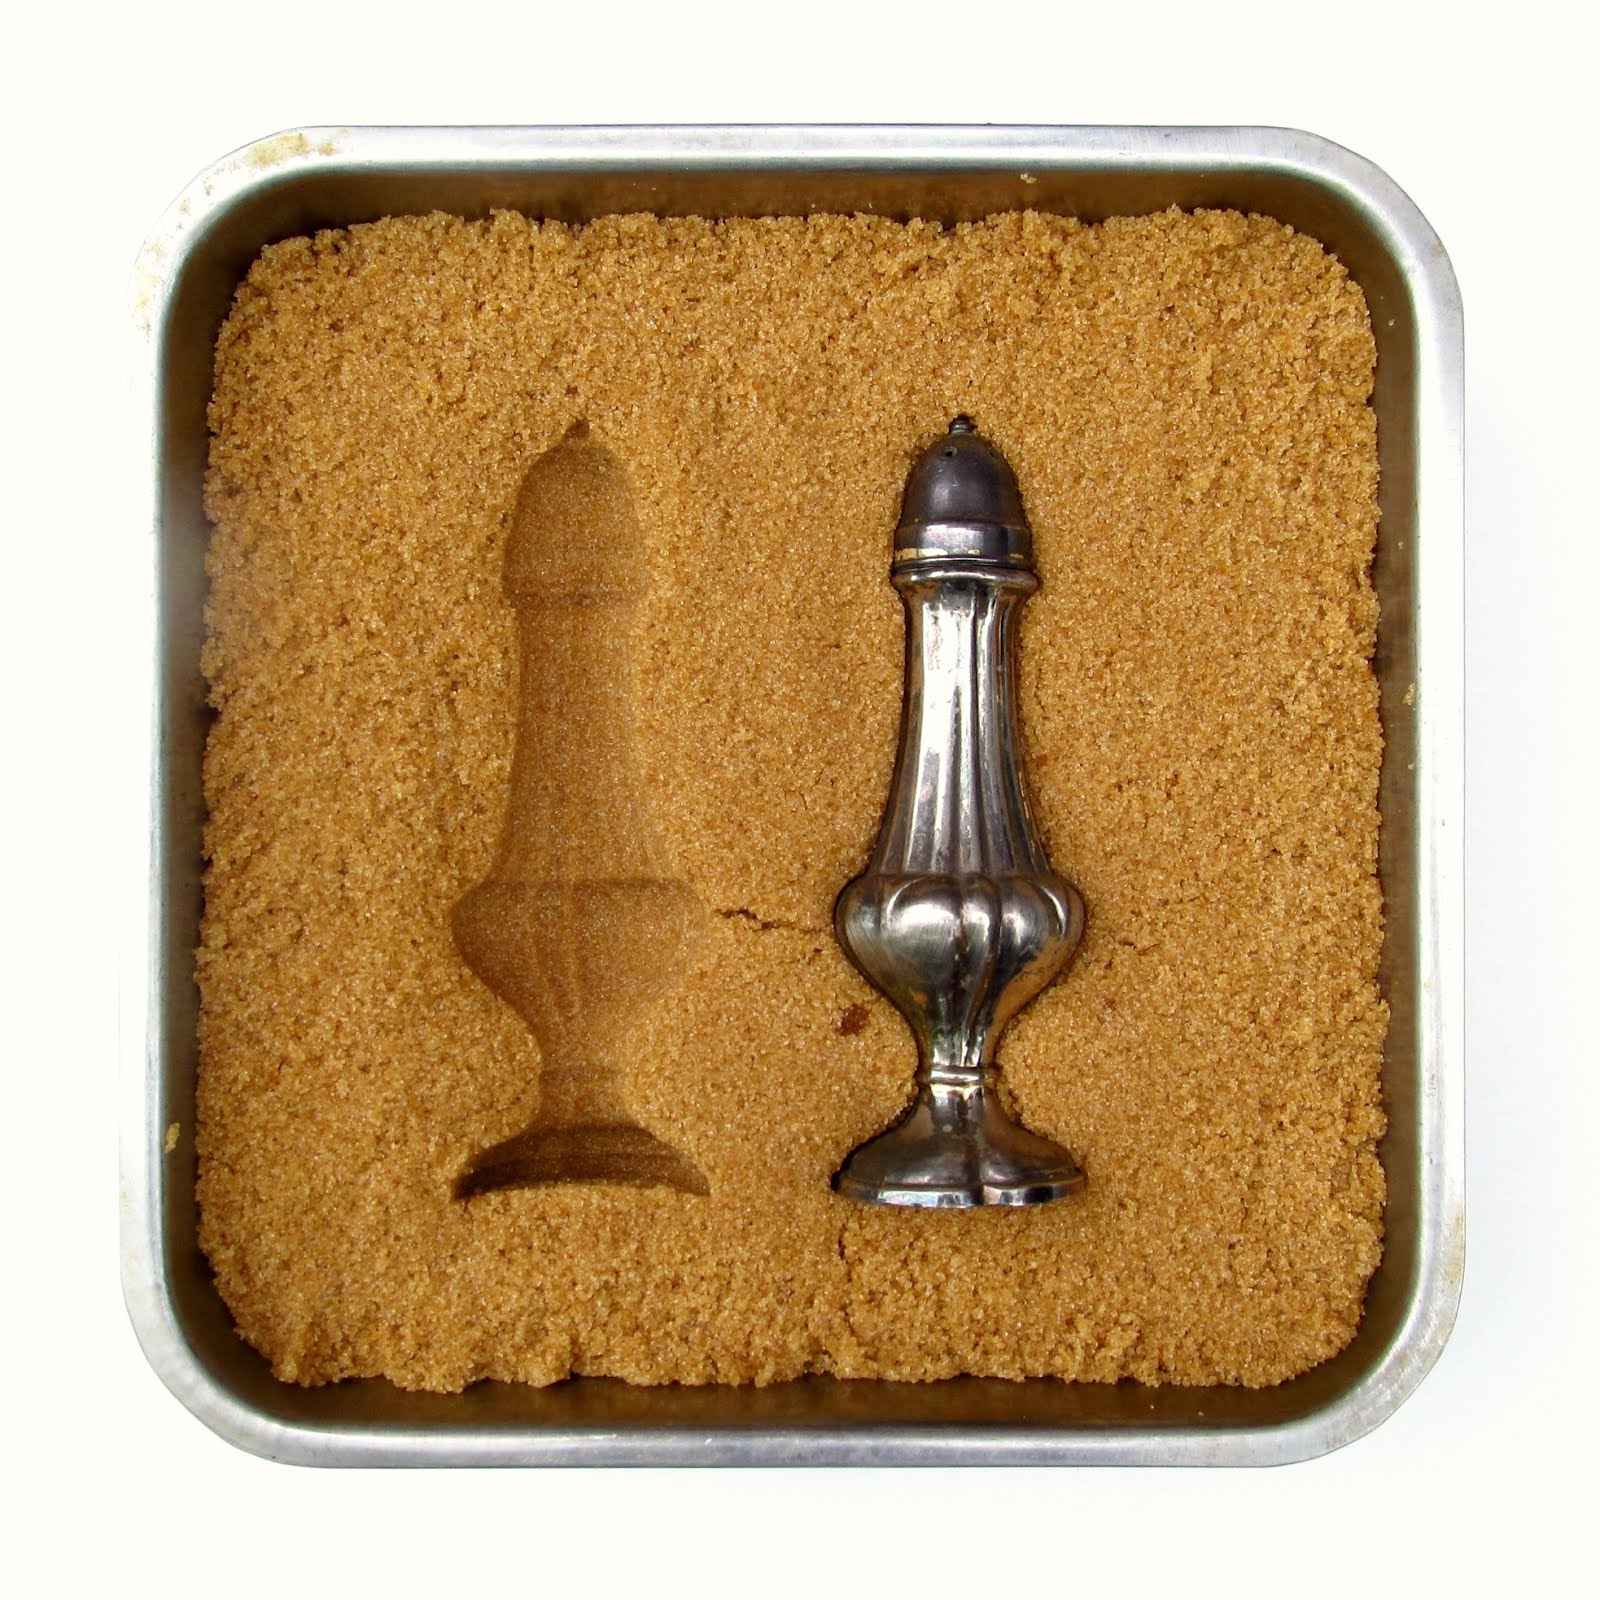
Brown sugar is the perfect medium for casting poured chocolate in a homemade mold. This simple project will set your imagination wild!

Post update: Click here to see the results of Chocolate Casting; Part II, where I experiment with other casting mediums!

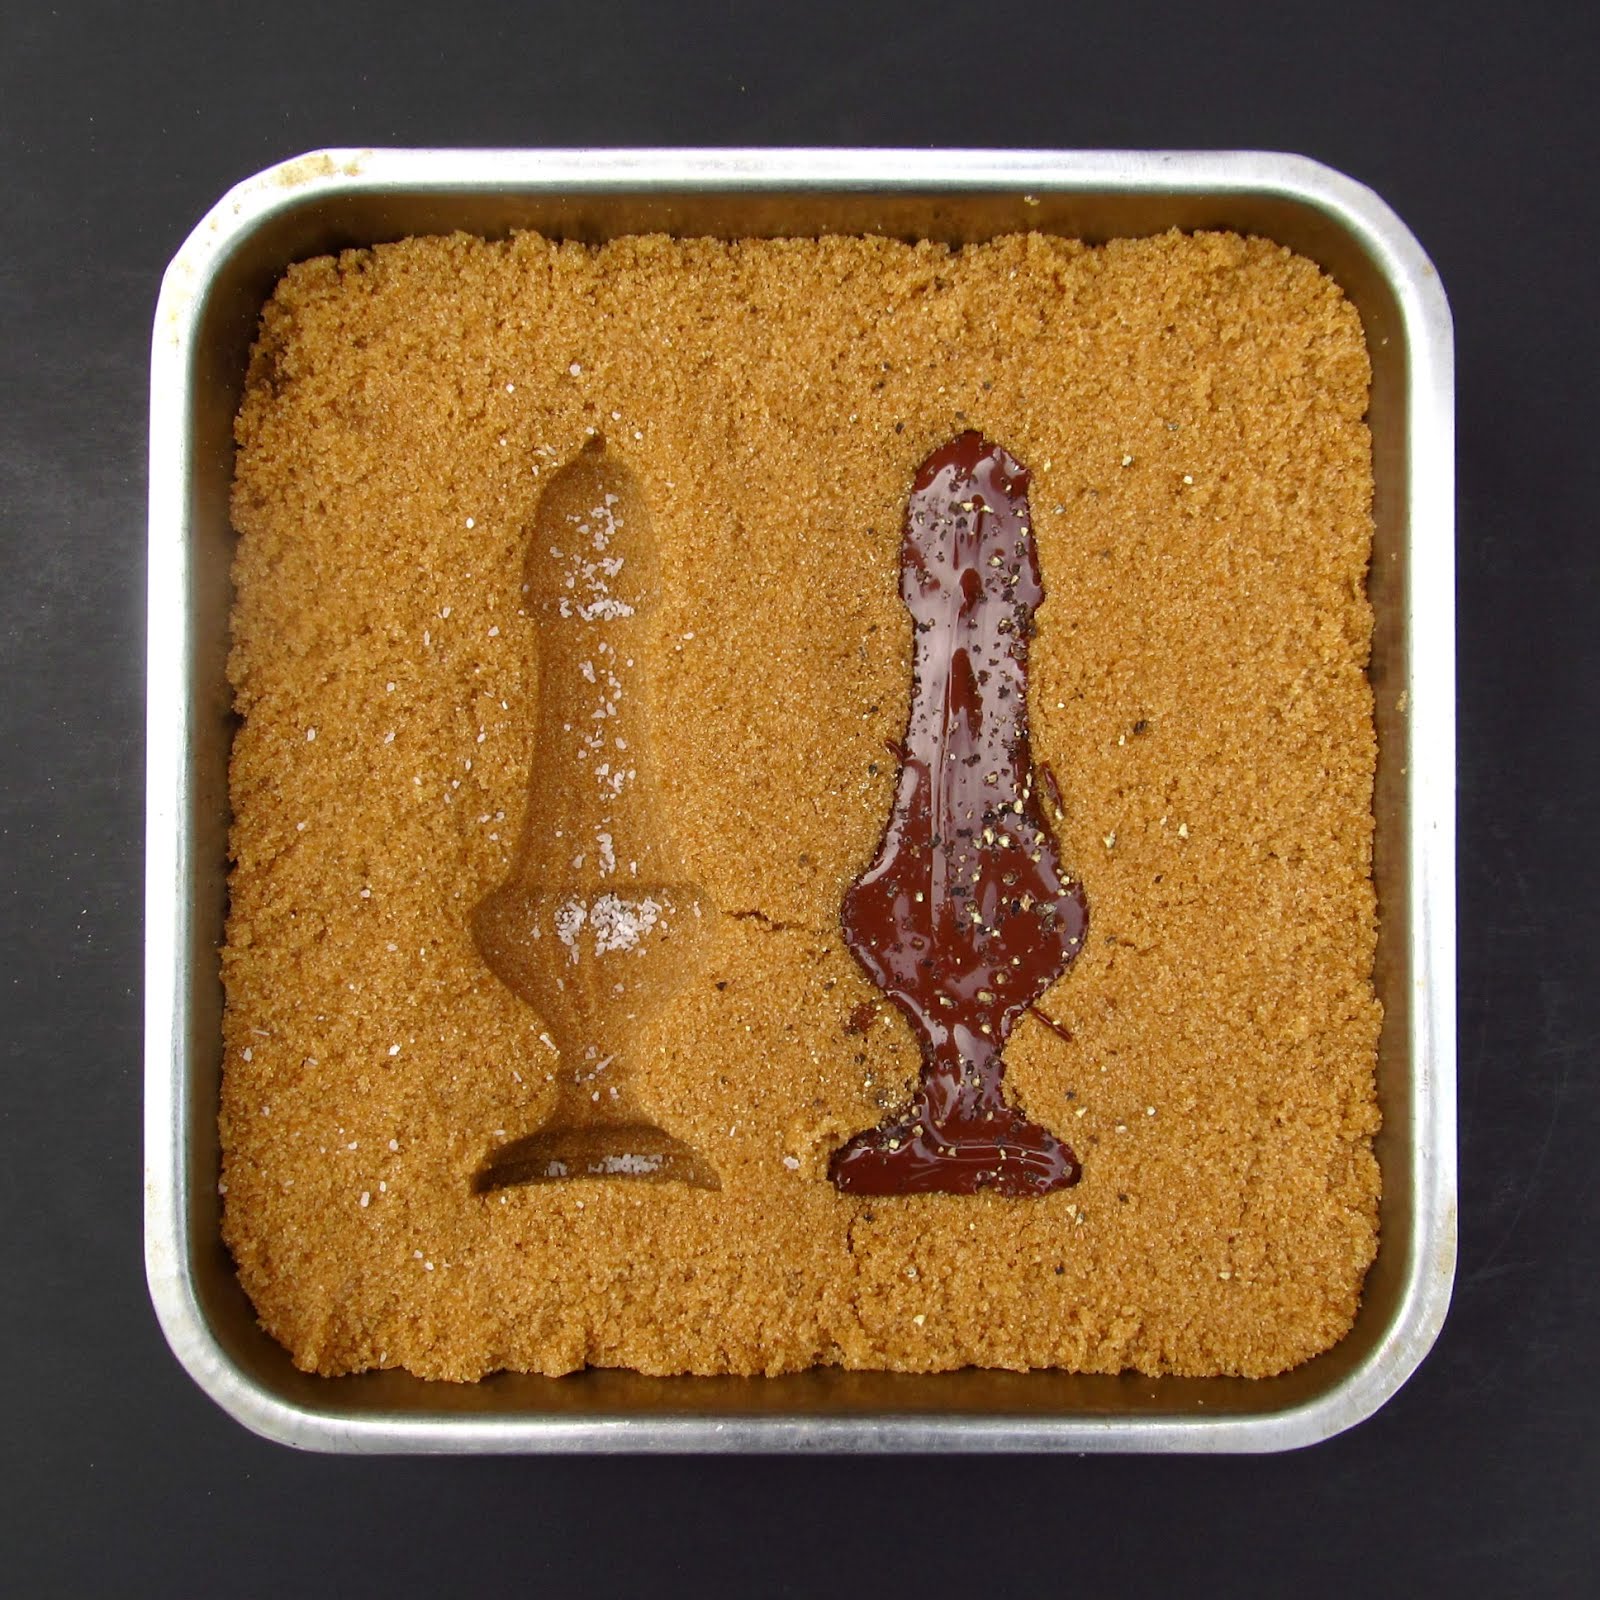
Press any convex object of choice firmly into packed brown sugar, pour melted chocolate chips into the mold and wait for it to set up.

You can flavor your chocolate with spices, citrus zest- or even salt and pepper!

I am picturing chess pieces, stones, vintage buttons, little hands and feet…all in different shades of chocolate…

This is a fun project for kids- especially since it takes very little set up (or clean up) and there’s not a lot of waiting around to see your results. My girls used shells, legos and various little figurines for their molds. Some of the girls’ chocolates didn’t turn out like they imagined but no problem- just remelt your chocolate, reset your sugar and try again!

I love projects that aren’t tedious and don’t have a lot invested so there’s not that fear of a failed product. Get your creative juices flowing and enjoy!

Brown Sugar Casted Chocolates

The brown sugar will create a grainy texture on the surface of your chocolates. There’s no way around this as far as I know.

  1. Fill a bowl or pan with an inch or two of brown sugar. Smooth it flat and press it lightly (not loose but not very tightly packed).
  2. Press clean items that are convex in shape firmly into the sugar. Do not twist or turn- pull straight out so you don’t break any ridges on the way out.
  3. Melt chocolate chips in a double boiler (or a heat-proof bowl set in a pan of shallow boiling water, not letting the bowl touch the water). Or you can heat the chocolate in the microwave in half minute intervals until it’s all melted.
  4. Add spices, zest or sprinkles to the mold before pouring chocolate if you want them to appear on the surface of the candy. Pour melted chocolate into the impression made in the brown sugar. Place in refrigerator or freezer until firmly set (20 minutes to an hour depending on size).
  5. Pull out the candy with its surrounding sugar and run the hardened chocolate under cold water to remove the sugar. If you have many you can place them in a pan of cold water for a few minutes, then rinse with cold water and pat dry. I found it useful to use a soft toothbrush to gently remove the sugar as I ran cold water over each piece.

I hope you try this project at home and have fun with it! Enjoy your day!

http://daringbakerduluth.blogspot.ca/2012/08/brown-sugar-casted-chocolates.html